
How Do I Remove Pool Stains, Clean the Filter Cartridge, and Prepare for Winter Maintenance?
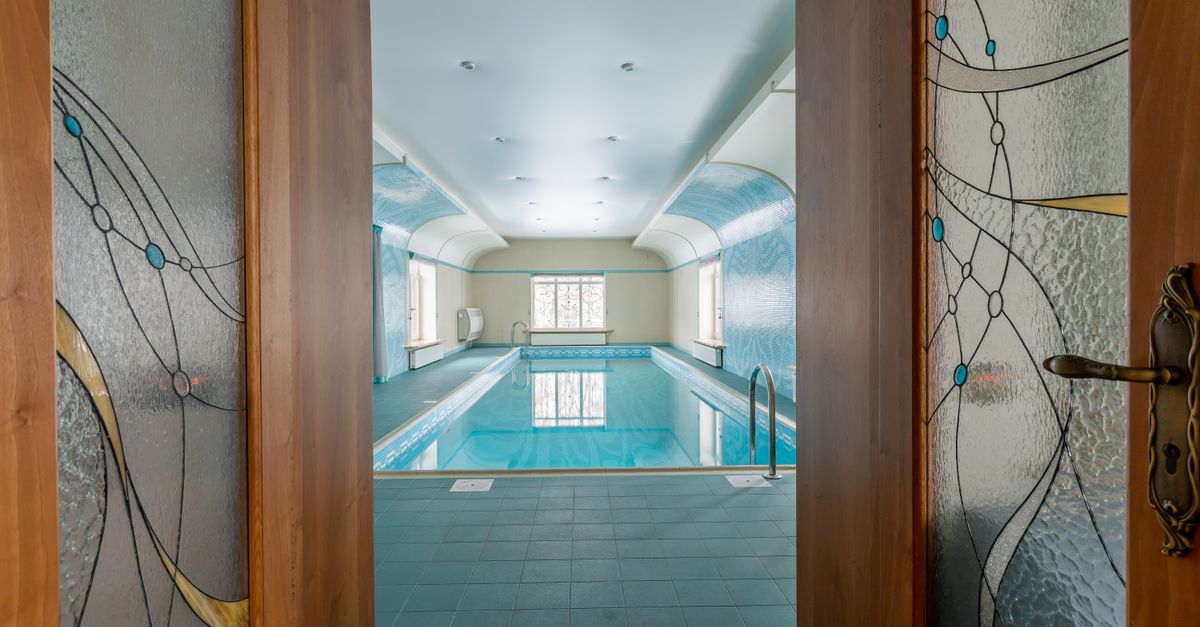
I’ve spent more than a decade turning messy pools into crystal‑clear havens. Whether you’re dealing with stubborn stains, a clogged filter cartridge, or a green pool that looks like the ocean, the steps are consistent. In this guide I’ll walk you through each phase of maintenance—stain removal, filter cleaning, algae control, and winter prep for heated pools—in a straight‑forward way so you can keep your water sparkling all year long.
Understanding the Importance of Regular Maintenance
A well‑maintained pool isn’t just about aesthetics; it’s a safety issue. Dirty or imbalanced water can harbor bacteria, irritate skin, and corrode equipment. By tackling stains early, cleaning your filter cartridge promptly, and addressing green algae before it spreads, you preserve the integrity of your heater and plumbing.
In my experience, skipping even one step—especially winterizing a heated system—can lead to costly repairs. That’s why I always follow this four‑step routine: stain removal, filter cleaning, green pool control, and winter maintenance.
Step 1: Effective Pool Stain Removal Techniques
Tools and Materials You’ll Need
• pH‑neutral pool cleaner (e.g., sodium percarbonate or a commercial stain remover)
• Soft brush or sponge
• Protective gloves and goggles
• A bucket of warm water for rinsing
Preparing the Work Area
Before you begin, clear the surrounding deck or patio to keep debris from falling into the pool. If you’re working near an electrical outlet, make sure all power tools are turned off and that your gloves provide adequate insulation. A clean workspace reduces the risk of accidental slips and ensures you can focus on the stain treatment.
Common Types of Stains and How to Treat Them
- Aluminum & copper stains: Apply a mild acid cleaner, let sit 15–20 minutes, then rinse thoroughly. A small amount of white vinegar works well for copper, while a commercial aluminum remover will handle more severe discoloration.
- Chlorine spots on tiles or plaster: Use a non‑abrasive pad with a pH adjuster; avoid harsh chemicals that can damage surfaces. Lightly scrub in a circular motion and rinse until the spot disappears.
- Organic stains (food, sweat, oils): Scrub with a gentle cleaner and rinse. If the stain persists, consider a spot treatment with a dedicated enzyme cleaner that breaks down organic matter at a molecular level.
Choosing the Right Cleaner for Your Stain
The chemistry of the stain dictates which product will be most effective. For metal stains, acids are required to dissolve oxides; for organic stains, enzymes or surfactants help lift oils and proteins from surfaces. Always read the manufacturer’s instructions and test on a small, inconspicuous area first.
DIY vs Professional Solutions
Most household stains are manageable with the right product. However, if you encounter deep pigmentation or structural damage, it’s safer to consult a pool professional who can use industrial‑grade solvents without compromising your pool lining.
Key takeaway: Identify stain type first; choose a cleaner that matches the chemistry of the stain for efficient removal.Step 2: Cleaning the Filter Cartridge for Optimal Performance
When to Replace or Clean Your Cartridge
A clogged cartridge reduces water flow and forces the pump to work harder, shortening its lifespan. Check your filter’s pressure gauge regularly:
- If the differential pressure rises 8–10 psi above the baseline, it’s time to clean.
- For high‑usage pools, inspect weekly during peak season.
Pre-Cleaning Checklist
Before you remove the cartridge:
- Verify that the pool is not over-chlorinated; excess chlorine can cause foaming during cleaning.
- Make sure all backwash valves are closed to prevent water loss.
- Turn off the pump and disconnect the filter from the plumbing loop.
Cleaning Procedure Step-by-Step
- Turn off the pump and isolate the filter line.
- Remove the cartridge and rinse with a hose, ensuring you clean both sides of each pleat.
- Soak in a 1:10 solution of commercial cartridge cleaner for 30 minutes.
- Scrub any stubborn debris with a soft brush, then rinse again.
- Reinstall the cartridge, restore power, and monitor pressure to verify normal levels.
Post-Cleaning Maintenance Tips
After reinstalling:
- Run the filter for 24 hours without shock treatment to allow the system to equilibrate.
- Check water clarity; if still cloudy, repeat cleaning or consider a backwash cycle.
- Document the date and time of each clean in a maintenance log to track cartridge performance over months.
Troubleshooting Common Issues
If pressure remains high after cleaning, check for:
- Pleat damage or warping—replace the cartridge.
- Blocked skimmer or pump strainer—clean these as well.
- Water chemistry imbalances that cause excessive scaling—adjust pH and alkalinity.
Step 3: Green Pool Cleaning – Tackling Algae and Chlorine Imbalance
Identifying the Signs of a Green Pool
A green tint usually indicates a rapid algal bloom or insufficient chlorine. Look for:
- Pale green water that doesn’t clear after skimming.
- Visible algae strands on walls or floor.
- Water that tastes odd or has a musty odor.
Shock Treatment and Sanitizer Choices
- Test pH; adjust to 7.2–7.6 before shocking.
- Calculate shock dose based on pool volume (typically 1 lb of liquid chlorine per 10,000 gal).
- Add the shock product, run the filter for at least 8 hours, and maintain a free‑chlorine level of 4–5 ppm until clarity returns.
If you prefer a long‑lasting sanitizer, consider a salt‑water chlorinator or UV system. Both reduce chemical usage while keeping algae under control.
Alternative Sanitizers for Sensitive Users
For families with allergies or young children, non‑chlorine options such as mineral sanitizers (copper–zinc) can be effective at lower levels of free chlorine. These systems release trace metals that inhibit algal growth without the harshness of high chlorine spikes.
Preventing Future Algal Blooms
Once you’ve cleared the green, maintain a stable sanitizer level:
- Keep free chlorine between 2–3 ppm during normal operation.
- Maintain pH around 7.4 to improve sanitizer efficacy.
- Run the filter continuously for at least 8 hours each day in hot weather.
Step 4: Winter Pool Maintenance for Heated Pools
Preparing Your Heater for Seasonal Shutdown
Heating systems are vulnerable to freeze damage if water remains in the lines. Follow these steps:
- Turn off the heater and let it cool.
- Purge the system by opening all drain valves and allowing water to escape.
- Fill the pump basket with a non‑freezing antifreeze solution (if your heater manufacturer permits).
Detailed Heater Winterization Checklist
To ensure no residual water remains:
- Close all vent and exhaust valves to prevent backflow.
- Inspect the heat exchanger for any visible cracks or corrosion before filling with antifreeze.
- Label the heater as “Winterized” in your maintenance log.
Winterizing the Filtration System
- Flush the filter cartridge with clean water and store it in a dry, covered area.
- Seal all inlet and outlet valves to prevent debris entry.
- If you use a sand or DE filter, add a small amount of anti‑scale agent before sealing.
Additional Winter Precautions
Cover the pool with an insulated blanket to reduce evaporation. Keep the cover clean and dry; moisture can lead to mold growth on the underside. Inspect the cover for tears or holes each month, especially after storms, and replace as needed.
Additional Tips for Maintaining a Clean, Heated Pool Year‑Round
- Perform a weekly water test and adjust chemicals promptly.
- Use a pool cover during rainy days to keep debris out.
- Schedule monthly professional inspections if you have high‑end equipment or a large volume of usage.
- Document each maintenance session; this helps diagnose recurring issues.
Common Mistake: Forgetting to Drain All Lines Completely
Many owners simply shut off the heater and leave the lines filled. Even a few inches of water can freeze, expand, and crack pipes or fittings. To avoid this, always perform a full drain—open all valves, let water run out until it stops—and then fill with antifreeze if your system allows.
Preventive Measure: Use a Winterizer Kit
A winterizer kit typically includes plastic plugs for each line and a sealant to keep water out. Installing the kit during shutdown ensures every conduit is sealed, reducing the risk of hidden pockets that could later burst.


